Doritos Walking Taco
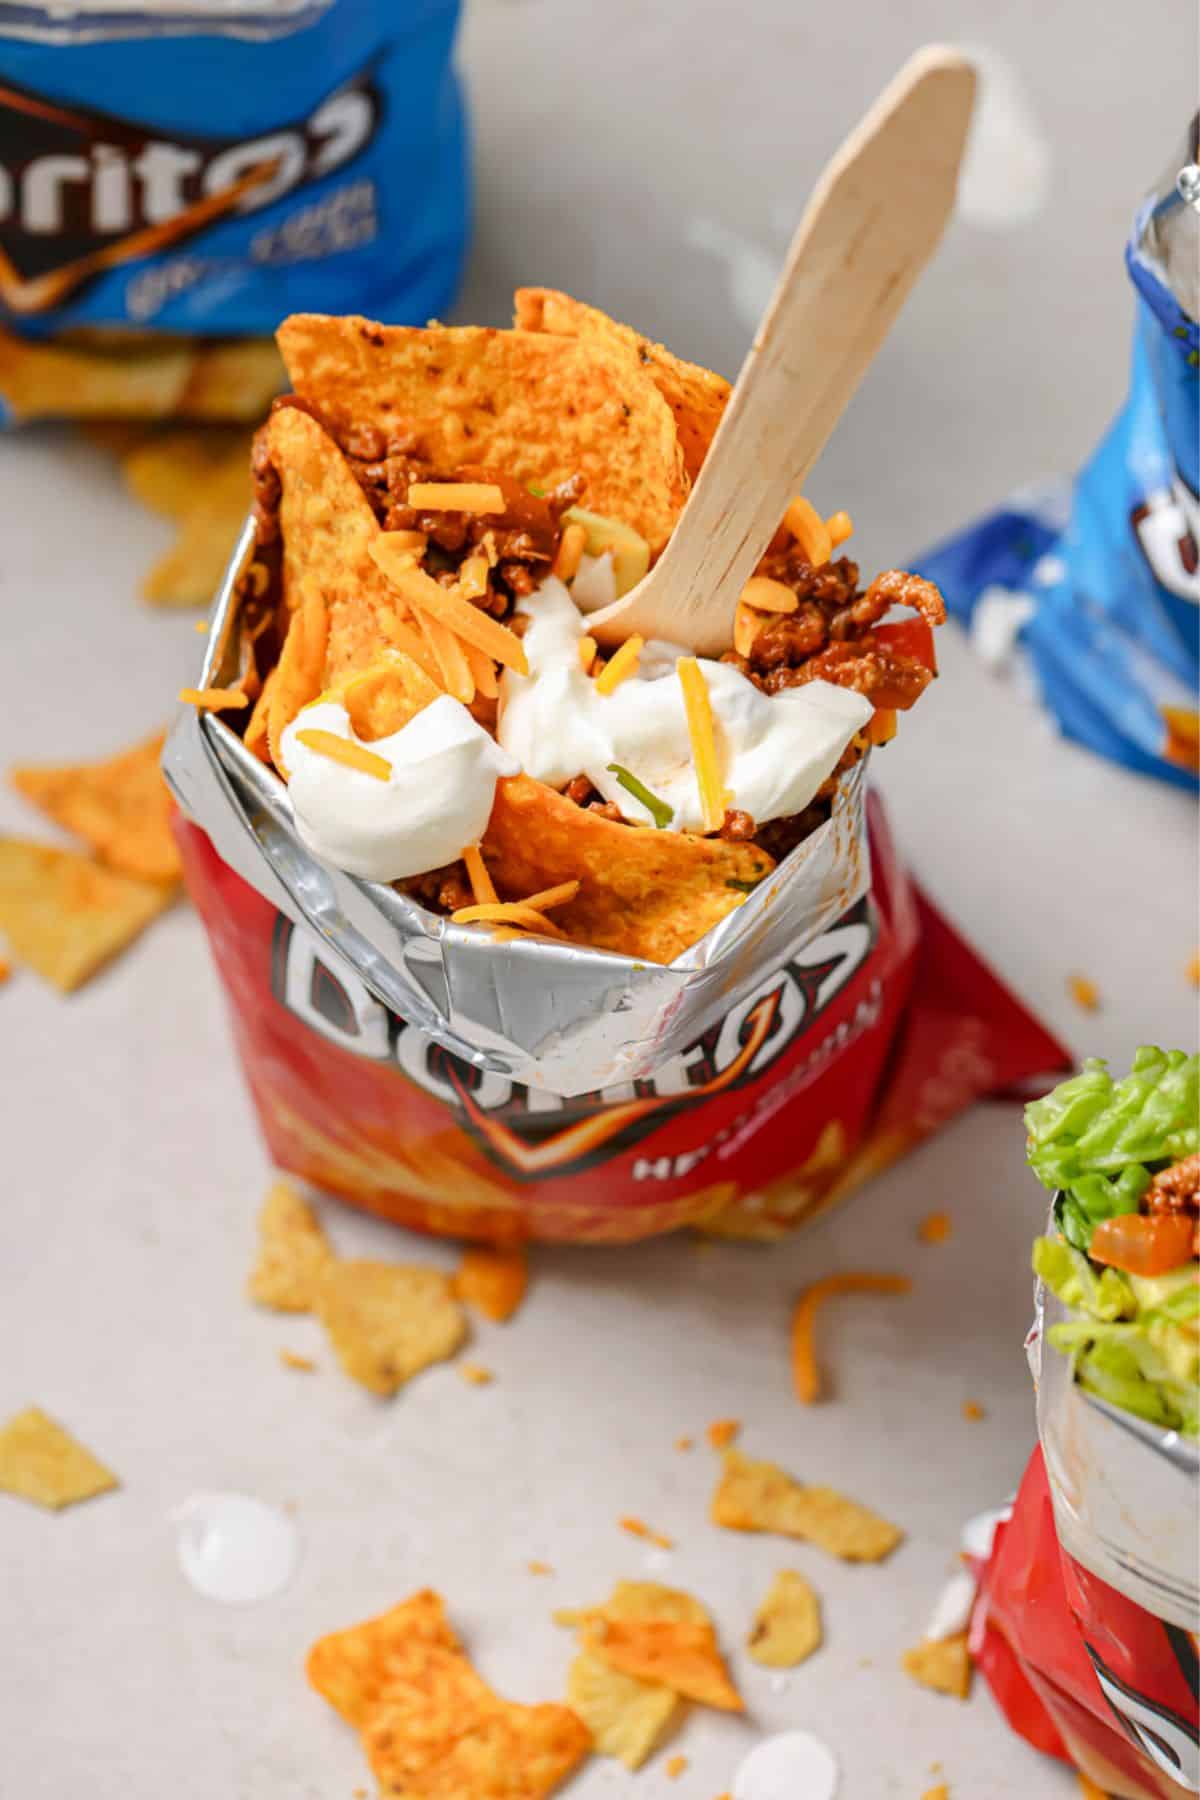
Handheld and tasty, this Doritos Walking Taco Recipe turns a bag of chips into a mini taco bowl you can enjoy on-the-go.
It’s crunchy from the chips, savory from the ground beef, and totally customizable—making taco Tuesday night easier and more fun!

Since they’re perfect for holding while mingling, pair them with festive cocktails like Peach Sorbet Champagne, Rosé Sangria, or Mint Mojitos. Ideal for game days, picnics, or casual get-togethers with friends!
Why You’ll Love This Recipe

- Less Mess, More Fun: Say goodbye to taco mess! This recipe is easy to eat, with everything neatly packed in a Doritos bag—perfect for on-the-go meals with minimal prep and cleanup.
- Customizable for Everyone: Set up a walking taco bar and let everyone customize their own bag with a variety of toppings and fillings. It’s a fun, interactive way to build their own ideal bag!
- Taco Night, Reimagined: Whether you’re 5 or 55, walking tacos bring all the familiar flavors you love with a grab-and-go spin that makes mealtime a little more exciting.
Ingredients you will need

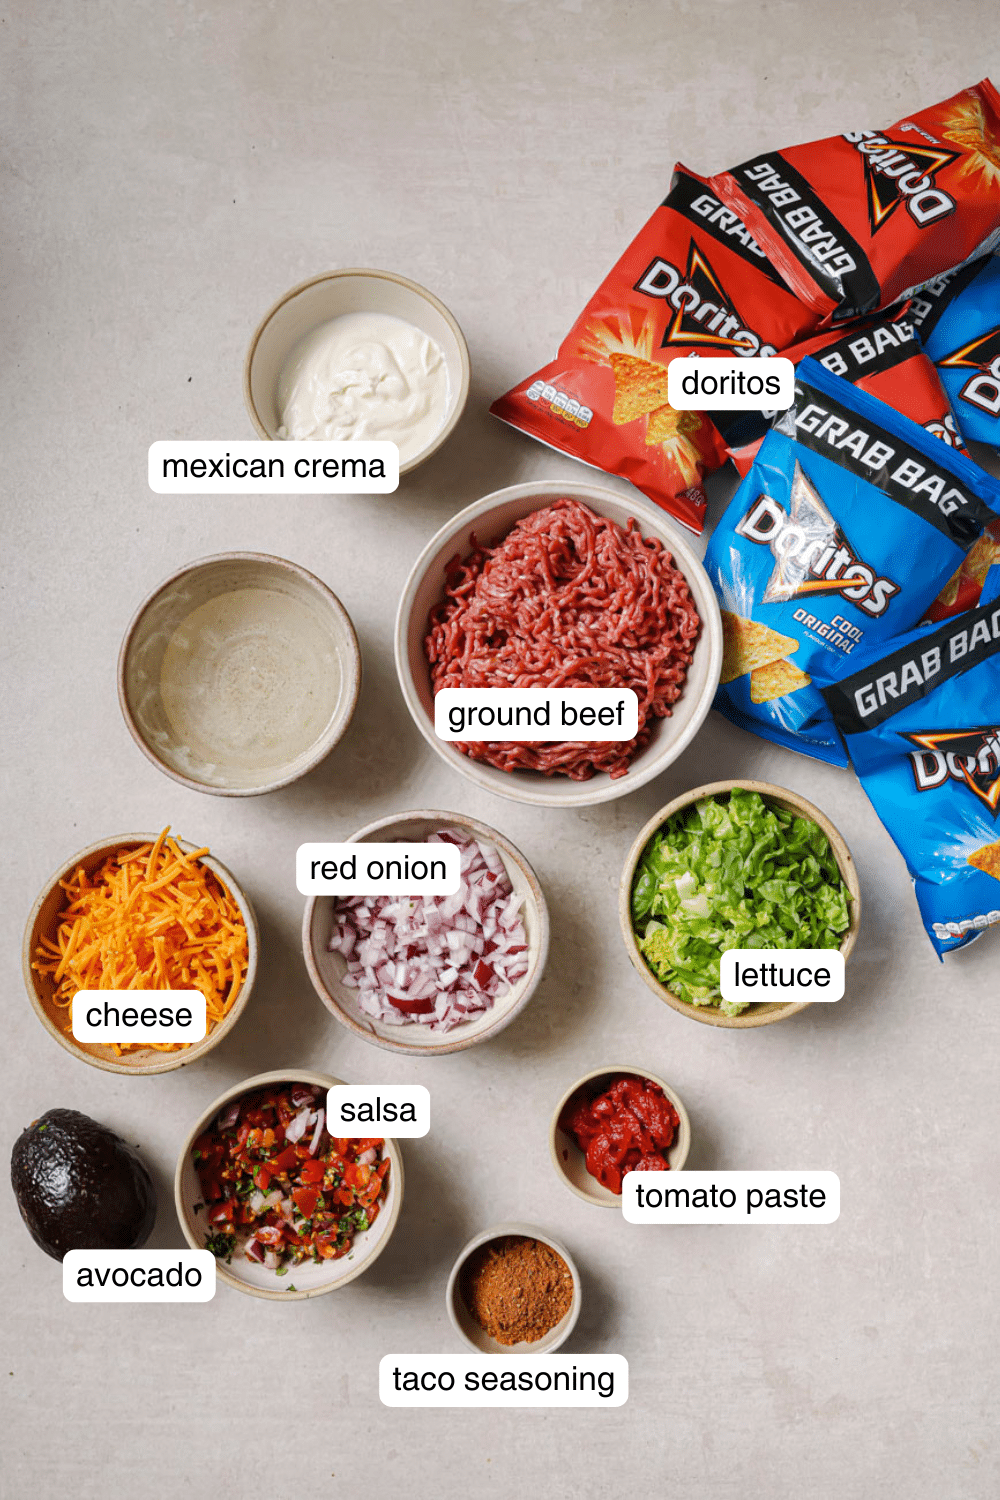
- Lean Ground Beef: The primary protein in this recipe, offering plenty of flavor with less fat than regular ground beef, keeping the Doritos walking taco hearty, but a little lighter.
- Red Onion: Adds a milder, sweeter flavor when cooked with the ground protein, balancing out the savory richness.
- Taco Seasoning: A blend of chili powder, cumin, oregano, paprika, garlic powder, onion powder, salt, and pepper that gives the ground beef that signature taco flavor.
- Tomato Paste: Brings a rich, savory, and tangy balance to the beef.
- Doritos: The crunch factor! For the base, I recommend starting with classic nacho cheese flavor, but this variety pack is so fun!
- Toppings: I always put out tons of toppings! Like chunky salsa, lettuce, chopped green chiles, shredded cheese, green onions, fresh avocado or guacamole (like this authentic guacamole recipe), pico de gallo, cilantro, lime juice, and sour cream.
*For a detailed list of instructions, ingredients and measurements, please reference the recipe card down below.
Substitutions
- Beef: While a classic choice, you can swap it for a leaner protein like ground turkey or chicken. For a different texture to your walking tacos with Doritos, try shredded chicken (hello crockpot lime chicken!) or pulled pork (love these crockpot carnitas!).
- Taco Seasoning: If you’re out of taco seasoning, you can make your own with salt, pepper, paprika, oregano, chili powder, and any mix of cumin, red pepper flakes, garlic powder, and onion powder.
- Onion: No red onion? You can easily substitute it with white or yellow onion. They offer a milder, sweeter flavor that complements the protein without overpowering the other ingredients.
- Doritos: Try Fritos (or any corn chips), Cheetos, Hot Cheetos, Takis, or even potato chips! As long as it’s crunchy and flavorful, it’ll work great as a base.
Tips & Tricks
- Let the Beef Cool: No one likes soggy chips! Allow the beef to cool before adding it to the chip bag. This helps retain that crunchy texture and ensures you don’t burn your hands while eating your Dorito walking taco.
- Gently Open the Bags: Be sure to open the bags carefully to keep the structure intact. If you prefer a shallower container, simply roll the edges down instead of cutting them off. You can also cut open the center of the bag instead of opening from the top.
- Make Room for Toppings: Pull a few chips from the top to create extra space for your toppings. Don’t toss them! Use them for scooping, crumble them on top, or snack on them as is.
- Planning a Party? Set up a walking taco bar with all the toppings in small bowls for everyone to put their own chip bag together.
Walking Taco Variations
- Fajita Walking Tacos: Use seasoned grilled chicken or steak (check out these steak fajitas for inspo!), and top with sautéed bell peppers, onions, and a squeeze of lime for fajita-inspired walking tacos with Doritos.
- Meatless: Swap the protein for black beans, lentils, or a plant-based protein like tofu or tempeh for a delicious vegetarian option. Check out these mushroom fajitas for meatless inspo!
- Creative Swaps: Instead of the beef, use the meats from my slow cooker barbacoa tacos, bang bang shrimp tacos, or chicken tacos as toppings instead!
- French Fry Base: Adapt my Loaded Taco Fries into a portable version by assembling in an empty chip bag or a walking fry basket.
If you tried this Walking Tacos Recipe or any other recipe on my blog please leave a 🌟 star rating and tell me how it went in the 📝 comments below. I love hearing from you!
Doritos Walking Taco
Ingredients
- 1/2 tbsp olive oil
- 1 pound lean ground beef
- 1/2 cup red onion, diced
- 2 tbsp taco seasoning
- 3 tbsp tomato paste
- 1/2 cup water
- 6 bags Doritos, snack-sized
Toppings
- 2 cups shredded baby gem lettuce, or romaine
- 2/3 cup salsa
- 1 cup shredded cheese
- 1/2 cup sour cream
- 1 avocado, diced
- 1 tbsp fresh cilantro, finely chopped
Instructions
- Heat the olive oil in a large cast iron skillet or stainless steel pan over medium-high heat. Place the beef in the center of the pan and allow it to sit for 4-5 minutes, then flip and cook for 4-5 minutes on the other side. Once the beef is browned, you can break it apart and continue cooking for about 5 more minutes, or until it's cooked through.1/2 tbsp olive oil, 1 pound lean ground beef
- Add the diced onion and cook for 2 minutes or until it begins to soften. Then add the taco seasoning, tomato paste, and water (or stock). Simmer the mixture for 8-10 minutes or until it's thickened.1/2 cup red onion,, 2 tbsp taco seasoning, 3 tbsp tomato paste, 1/2 cup water
- Allow the beef to cool slightly so the nacho chips don’t get soggy. Then, gently crush a couple of the chips with your hands and open the bags. Layer the beef mixture inside each bag with all your favorite toppings and enjoy!6 bags Doritos,, 2 cups shredded baby gem lettuce,, 2/3 cup salsa, 1 cup shredded cheese, 1/2 cup sour cream, 1 avocado,, 1 tbsp fresh cilantro,
- If you tried this recipe, please leave a comment letting me know how it was!
Video
Notes
- I like to mix some of the cheese in with the beef in the pan so it gets melty and gooey!
- Allow the beef to cool slightly before adding it to the chip bag. This helps retain that crunchy texture and ensures you don’t burn your hands while eating your Dorito walking taco.
- Pull a few chips from the top to create extra space for your toppings. Don’t toss them! Use them for scooping, crumble them on top, or snack on them as is.
- After opening the bag and making room for toppings, gently crush the chips. This ensures bite-sized pieces that are easy to enjoy with a fork!
- Setup a walking taco bar with all the toppings in small bowls for everyone to put their own chip bag together
- Be sure to open the bags carefully to keep the structure intact. If you prefer a shallower container, simply roll the edges down instead of cutting them off. This way, the bag becomes your food container
Nutrition
Recipe FAQs
If you have leftover meat and toppings, store them separately in an airtight container for up to 5 days in the fridge. When it comes to freezing, only the taco meat can hold up in the freezer for up to 3 months.
Here’s a time saving tip! Cook the meat and prep all the toppings up to 24 hours ahead. Then, reheat the meat to room temperature and assemble the walking tacos when you’re ready to serve to keep the chips from getting soggy.
This post may contain affiliate links. Please read my privacy policy.


